Replacing a broken button on the Amiga mouse
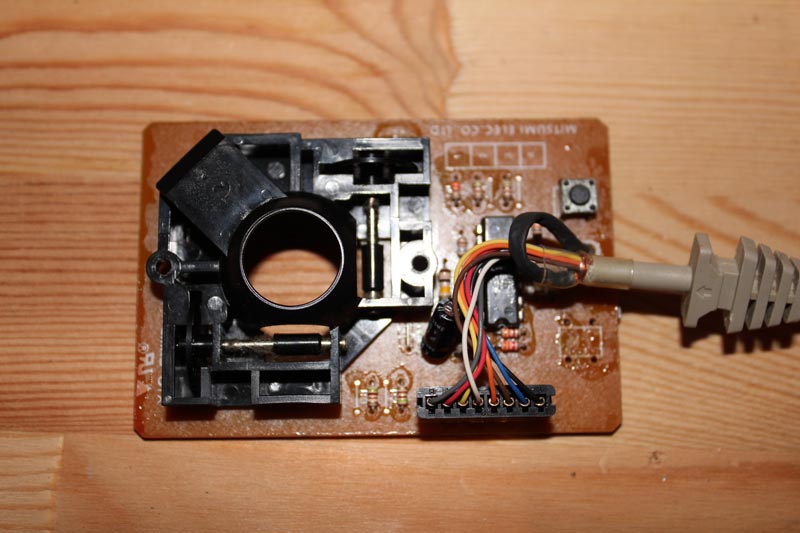
Sorted this out a while ago – I had an Amiga mouse where the left mouse button wasn’t hitting anything when I pressed it. Opened up the mouse and found that the entire switch for the mouse had broken off at some point in its life and hadn’t been fixed. Since tactile micro switches are cheap and abundant (I grabbed a spare off a dead DVD-ROM’s open button), I thought I’d fix it. Here’s what I did:
- Flip the mouse over and remove the two screws
- Flip it back over and remove the top of the case to reveal the mainboard/PCB inside. There are another two black screws holding the assembly to the bottom case – remove them, and take the board out of the case
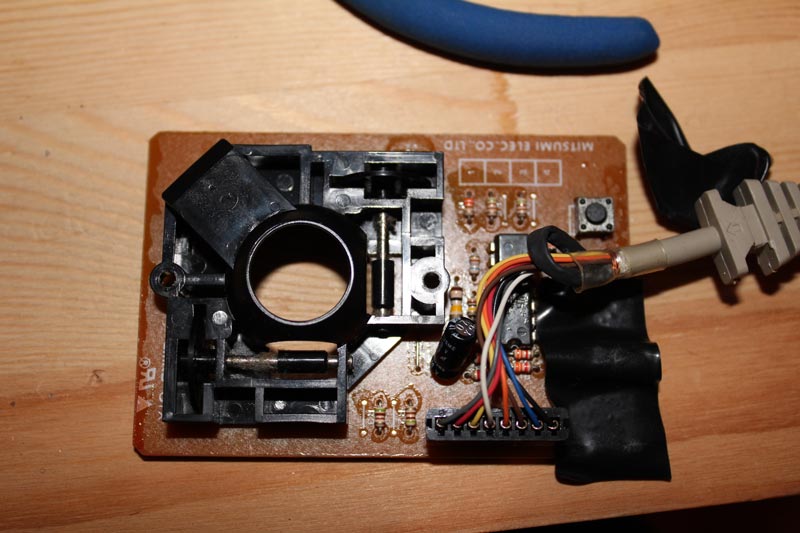
- Use your multimeter to determine which ends of the tacticle switch join when pressed and make sure the ground and signal portions of the board aren’t connected when the button isn’t depressed. Once you have it sorted, place the switch in the holes accordingly
- To keep the switch in place while you work from underneath the board, use some electrical tape to hold the switch flush to the PCB
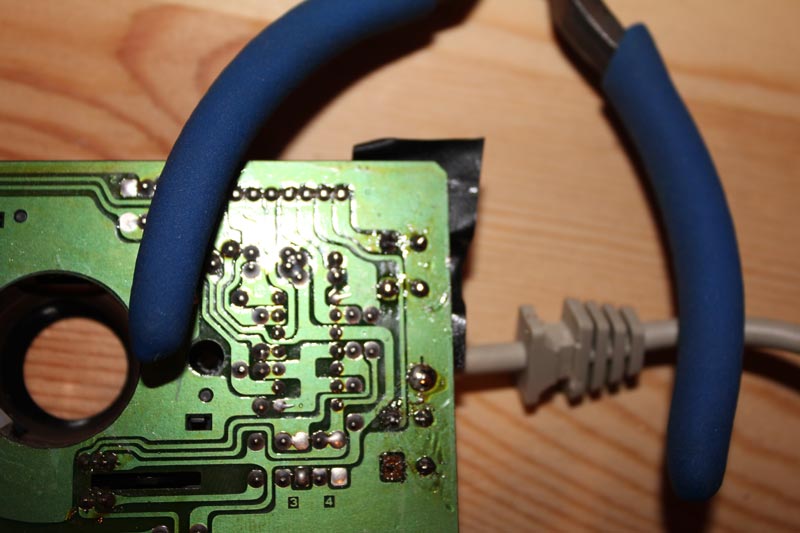
- Flip the board over so you’re working from the solder-side, ensure your soldering iron is heated and flow the holes with solder and trim off any excess from the pins to keep it neat and tidy
- Test the connection with your multimeter, then put everything back together again
And that should do it – a very easy fix, and one that’ll probably work for other computer (or console) mice as well. To give you a hand, I’ve also added an image gallery, or you can just check out the images below.


